- CompressConvertAI PDF
- Organize
- View & Edit
- Convert from PDF
- Convert to PDF
- SignMoreScan
- Home
- ›
- ›How to Convert PDF to CSV for QuickBooks in 5 Simple Steps
How to Convert PDF to CSV for QuickBooks in 5 Simple Steps
Convert PDF bank statements to CSV for QuickBooks in a few steps. Cut manual typing and import your data in minutes with our online workflow.
More on PDF to Excel
More on Excel to PDF
If you use QuickBooks, learning how to convert PDF to CSV for QuickBooks can save you a lot of time. Bank statements, card exports, and transaction reports often arrive as PDFs, but QuickBooks wants CSV files for smooth imports.
With Smallpdf, you can go from PDF to a clean CSV file using PDF to Excel and OCR, then import everything into QuickBooks with far less manual work.
Quick Start: Convert PDF to CSV for QuickBooks

Why Convert PDF to CSV for QuickBooks?
QuickBooks can’t read PDF tables directly. It needs structured data.
Why QuickBooks Prefers CSV
CSV (Comma Separated Values) stores data as rows and columns in plain text. That makes it easy for QuickBooks to:
Read dates, descriptions, and amounts correctly.
Map each column to the right field.
Import large sets of transactions in one go.
PDFs are great for presentation, not for structured imports. Converting to CSV gives you a clean bridge between your bank’s statements and your accounting.
What You Can Convert to CSV
You can usually convert any PDF that looks like a table, including:
Bank and credit card statements
Payment processor reports
Invoices and receipts grouped in a table
Monthly or quarterly transaction exports
Once the data is in CSV form, you can sort, filter, and prepare it exactly the way QuickBooks expects.
How To Convert PDF to CSV for QuickBooks (Step-by-Step)
We’ll use Smallpdf to turn PDF into Excel first, then save the file as CSV and import it into QuickBooks.
Open the Smallpdf PDF to Excel converter.
Click “Choose Files” or drag and drop your PDF into the upload area.
Wait for the file to upload and prepare for conversion.
ou don’t need to install anything, and it works on Windows, Mac, and mobile.
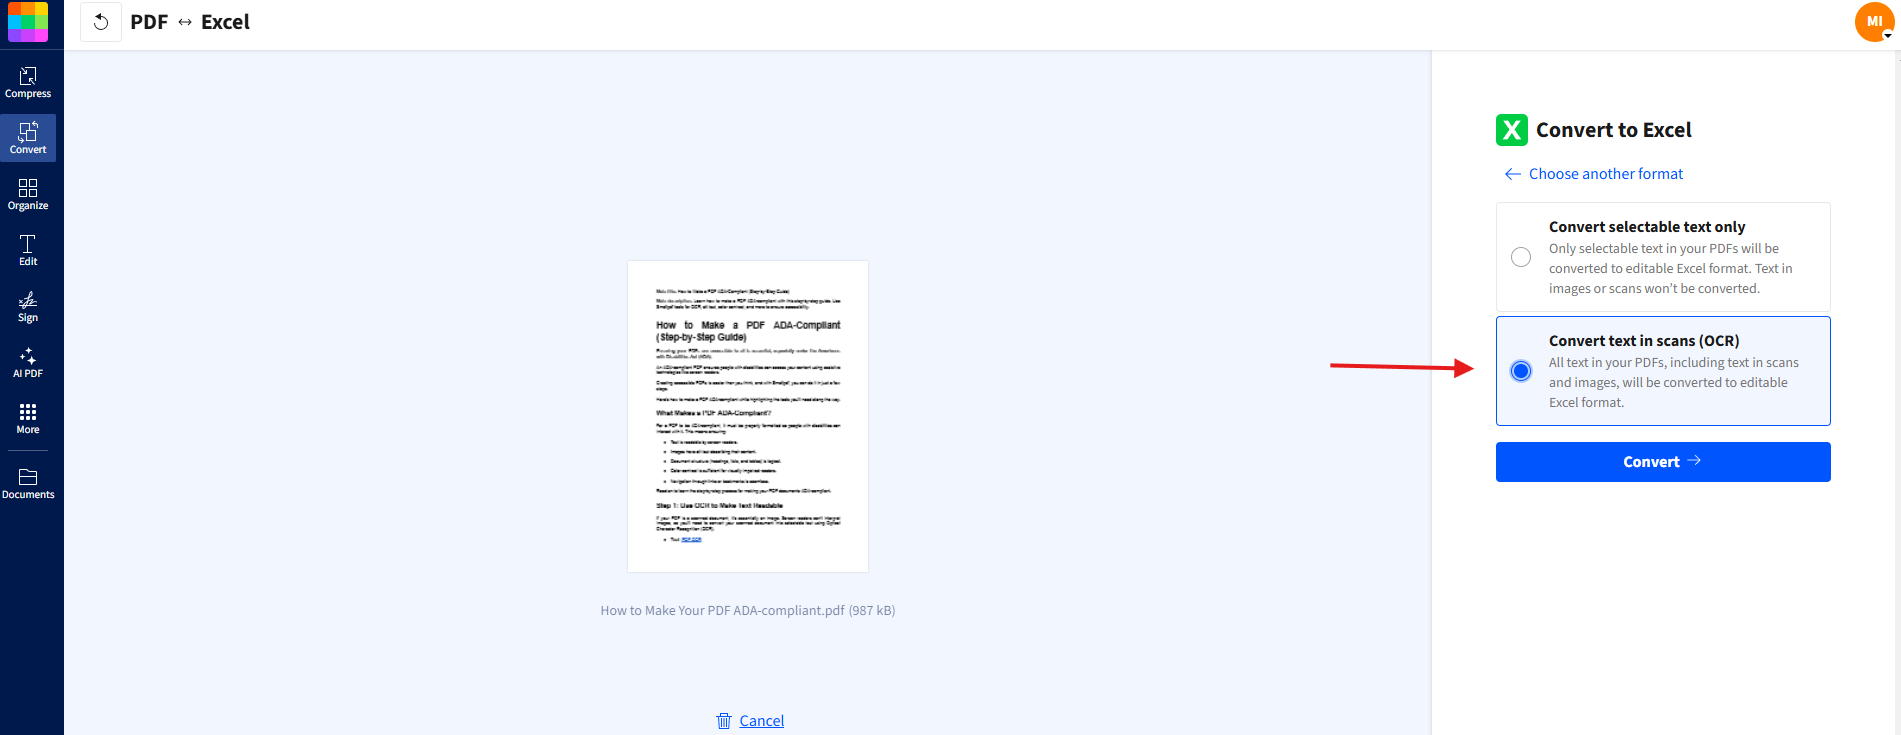
Step 2: Enable OCR for Scanned PDFs
If your statement looks like a scan or photo, you’ll want OCR.
OCR (Optical Character Recognition) is a process that reads text from images and turns it into editable, searchable data. It’s essential for scanned bank statements where the numbers and text aren’t selectable.
Choose the OCR option when it appears in PDF to Excel.
Confirm the setting and start the conversion.
Let our system detect table structure and text in the scanned pages.
This gives you a better Excel result, with columns and rows that actually behave like a table.
Step 3: Convert to Excel First (Recommended)
Once the conversion finishes, download the Excel file. Working in Excel or Google Sheets first gives you more control:
You can format dates and amounts correctly.
You can fix header names for QuickBooks.
You can delete extra rows like titles, footers, and totals.
Open the Excel file and make sure each column has a clear header like:
Date
Description
Amount
If your bank splits credits and debits into separate columns, decide how you’ll handle that (for example, use a single “Amount” column with negative values for debits).
Step 4: Format the Sheet for QuickBooks and Save as CSV
QuickBooks is picky about how CSV files are structured, so this step matters. Check a few basics in your spreadsheet:
Date format: Use MM/DD/YYYY unless your QuickBooks region expects something different.
Amount format: Use decimal points, no commas in numbers, and negative values for debits.
Text fields: Make sure there are no merged cells or extra header rows.
File size: It’s safer to keep the CSV under the typical QuickBooks limits; if it’s very large, split by month or account.
Now save as CSV:
In Excel: go to “File” > “Save As” and choose “CSV (Comma delimited).”
In Google Sheets: go to “File” > “Download” > “Comma-separated values (.csv, current sheet).”
This gives you a file QuickBooks can read.
Step 5: Import the CSV Into QuickBooks
Now switch to QuickBooks and bring the data in.
Go to “Banking” or “Transactions” in the left menu.
Choose “File Upload” or a similar option, depending on your version.
Select your CSV file and choose the account you’re importing into.
Map your CSV columns (Date, Description, Amount) to QuickBooks fields.
Review the preview screen and confirm the import.
QuickBooks will create transactions from your CSV, so you can categorize, match, and reconcile as usual.
Common Errors When Converting PDF to CSV (and Fixes)
It’s normal to run into a few issues the first time you convert a PDF to CSV for QuickBooks. Here are common ones and how to fix them.
1. Merged Cells or Broken Table Structure
Problem: Your Excel file has merged cells, header rows repeating, or values shifted into the wrong columns.
Fix:
Make sure OCR is enabled for scanned PDFs.
In Excel, unmerge cells and ensure every row follows the same column pattern.
Remove logos, headers, and footers that don’t belong in the data table.
2. Special Characters Causing Import Errors
Problem: QuickBooks rejects the CSV or shows strange symbols in descriptions.
Fix:
Save your CSV with UTF-8 encoding where possible.
Remove or replace unusual symbols that might confuse the importer.
3. Date Format Not Recognized
Problem: Dates appear as text or are imported into the wrong field.
Fix:
In Excel, reformat the date column to MM/DD/YYYY (or your local requirement).
Confirm you’re mapping the correct column to “Date” during the QuickBooks import.
4. Amounts Treated as Text
Problem: Amount fields won’t add up or sort correctly in QuickBooks.
Fix:
Remove currency symbols like $ or € from the cells.
Make sure decimals use a period, not a comma.
Convert the column to Number format in Excel before saving as CSV.
5. File Too Large for Smooth Import
Problem: QuickBooks times out or rejects large CSV files.
Fix:
Split one big CSV into monthly or quarterly files.
If the original PDF is huge, use Compress PDF first, then reconvert to Excel and CSV.
Why Use Smallpdf for PDF to CSV QuickBooks Workflows?
You could retype statements by hand, but that’s slow and error-prone. We focus on making the conversion side as smooth as possible.
1. Accurate OCR for Scanned Statements
When your bank only offers scanned PDFs, OCR is what turns those images into usable tables. Our PDF to Excel with OCR:
Detects tables and columns in statements.
Extracts text from scanned pages into editable cells.
Gives you a better starting point than manual copying.
2. Secure By Design
We know financial data is sensitive.
All transfers use TLS encryption.
Files are removed from our servers after about an hour of processing.
We don’t keep your bank statements or CSVs longer than necessary to process them.
3. Cross-Device and Browser-Based
You can convert PDFs:
On a laptop in the office
On a tablet at home
On a phone when you’re on the go
All you need is a browser and an internet connection.
Alternatives and Automation Options
CSV imports are great when you’re cleaning up older statements or handling one-off data. For daily work, QuickBooks also supports:
Direct bank feeds that pull transactions automatically
QBO and other native formats from some banks
API integrations built by third parties for large or complex setups
Even in those cases, PDF to CSV conversion stays useful for historical data, exceptions, or banks that don’t support direct feeds.
Streamline Your QuickBooks Imports With Smallpdf
Converting PDF bank statements to CSV doesn’t have to feel like a monthly chore. With a simple flow PDF to Excel with OCR, quick cleanup, and a CSV export, you can get data into QuickBooks far faster and with fewer mistakes.
We take care of the conversion side in your browser, so you can focus on reviewing and reconciling your numbers.
When you’re ready to speed up your next round of imports, open PDF to Excel, follow the steps above, and let us handle the heavy lifting.
Frequently Asked Questions
Is it free to convert PDF to CSV for QuickBooks with Smallpdf?
Yes. You can use our PDF to Excel feature on a free tier for light use. If you convert and import statements regularly, a Pro account gives you more conversions, batch processing, and access to all other features.Can Smallpdf handle scanned PDF bank statements?
Yes. If your PDF is scanned or image-based, enable OCR during conversion. We’ll read the text from the images and turn it into a table, which you can then clean up and save as CSV.How do I convert PDF to CSV on a Mac?
Open Smallpdf PDF to Excel in your browser on Mac, upload your PDF, and download the Excel result. Then open it in Excel or Numbers and save as CSV. The process is the same as on Windows because everything starts in the browser.What’s the file size limit for conversion?
Our converters can handle fairly large PDFs, including long statements. For QuickBooks imports, it’s usually best to keep your final CSV files reasonably small by splitting very long time ranges into separate files.Can I batch-convert multiple PDFs to CSV?
With Smallpdf Pro, you can convert several PDFs to Excel in one session. After that, you can handle each Excel file in your spreadsheet tool and save separate CSVs for QuickBooks.What if my bank statement has multiple accounts?
After conversion, open the Excel file and filter or split rows by account number or description. Save a separate CSV for each account before you import into QuickBooks.Is my financial data safe when I use Smallpdf?
We use TLS encryption for all file transfers and remove your files from our servers after processing. That way, your bank statements and CSV files aren’t stored with us long-term.What if the conversion misses some rows or columns?
Enable OCR for scanned PDFs and double-check the Excel output. You can fix column headers, merge or split cells, or manually add any missing rows before saving as CSV. It’s a lot faster than retyping everything from scratch.Prepare PDF documents for CSV export on Smallpdf
Related Articles
