- CompressConvertAI PDF
- Organize
- View & Edit
- Convert from PDF
- Convert to PDF
- SignMoreScan
- Home
- ›
- ›How to Make a PDF ADA-Compliant (Step-by-Step Guide)
How to Make a PDF ADA-Compliant (Step-by-Step Guide)
Need to convert PDF to ADA compliant for work or compliance? Follow these steps to fix tags, OCR scans, add alt text, and test fast.
Accessible PDFs help everyone, including people who rely on screen readers, keyboard navigation, or higher contrast.
ADA compliance can also be a requirement for organizations that publish public-facing documents, so it’s smart to treat accessibility as part of your normal PDF workflow, not an extra task at the end. Many teams use WCAG 2.1 Level AA as the technical benchmark for digital content, including documents.
This guide focuses on practical steps you can follow without expensive software. We’ll show you how to convert PDF to ADA-compliant using a clean workflow, plus how to spot the common issues that make “accessible” PDFs fail in the real world.
Quick ADA Compliance Checklist
Use this as your quick reference before you run a full check.
Start with an accessible source file (Word or Google Docs).
Export as PDF with tags. Don’t use “Print to PDF.”
Run OCR on scanned PDFs so text becomes selectable.
Confirm headings, lists, and tables are structured correctly.
Set a logical reading order and keyboard tab order.
Add alt text to meaningful images and charts.
Check color contrast (aim for 4.5:1 for normal text).
Set document language and a descriptive title.
Test with an accessibility checker and fix failures.
Convert PDF to ADA Compliant With Smallpdf
If you need immediate momentum, here’s the simplest starting point.
Use Smallpdf PDF OCR if your PDF is a scan and you can’t select text. (OCR is available with Smallpdf Pro.)
Use Smallpdf PDF to Word to bring the document into Word, where you can add alt text, fix headings, and clean up structure.
Convert back to PDF so accessibility tags carry through.
This approach works because Word gives you straightforward controls for structure, headings, and alt text, then the export process can retain that structure for screen readers.
What “ADA-Compliant PDF” Really Means
An ADA-compliant PDF is a PDF that people with disabilities can use with assistive technology. In plain terms, that usually means:
A screen reader can follow the document in the correct order.
Images that carry meaning have alt text.
Headings and lists behave like headings and lists, not “fake formatting.”
Tables have headers and a clear structure.
Links make sense when read out loud.
Color contrast is strong enough to read.
You’ll also see two standards referenced often:
WCAG (Web Content Accessibility Guidelines), commonly used as the technical standard for accessibility targets.
PDF/UA (ISO 14289), the PDF-focused accessibility standard that depends on Tagged PDF structure.
You don’t need to memorize either standard to make progress. You do need to understand what breaks accessibility in practice: missing tags, broken reading order, image-only scans, and missing alt text.
How To Make a PDF ADA-Compliant: Step-by-Step Guide
These nine steps are ordered to save time. Don’t skip ahead. Fixing the “foundation” first makes the later steps easier.
Step 1: Start With the Best Source File You Can
If you have access to the original Word or Google Docs file, use it. A clean source file carries structure into the PDF more reliably than “fixing” a messy PDF later.
Use real heading styles (Heading 1, Heading 2, Heading 3).
Create lists with the list feature, not manual dashes or spacing.
Use real tables, not aligned text with spaces.
If your PDF came from a design export, expect extra cleanup. Visual layout often looks great and reads terribly for assistive tech.
Step 2: Export as PDF With Tags, Not “Print to PDF”
How you create the PDF matters. “Print to PDF” often strips structure. Exporting keeps more of the tagging and reading order intact.
In Word, export or save as PDF and make sure the option for accessibility tags is enabled (Word labels this as document structure tags). This gives screen readers a fighting chance from the start.
Step 3: Run OCR If the PDF Is Scanned
If you can’t select text, a screen reader can’t read it. That’s the fastest test you can do.
Here’s how to decide if OCR is needed:
If selecting one word selects the whole page, it’s a scan.
If search finds nothing in a text-heavy document, it’s likely a scan.
If copy and paste produces gibberish, it’s often a scan or a font encoding problem.
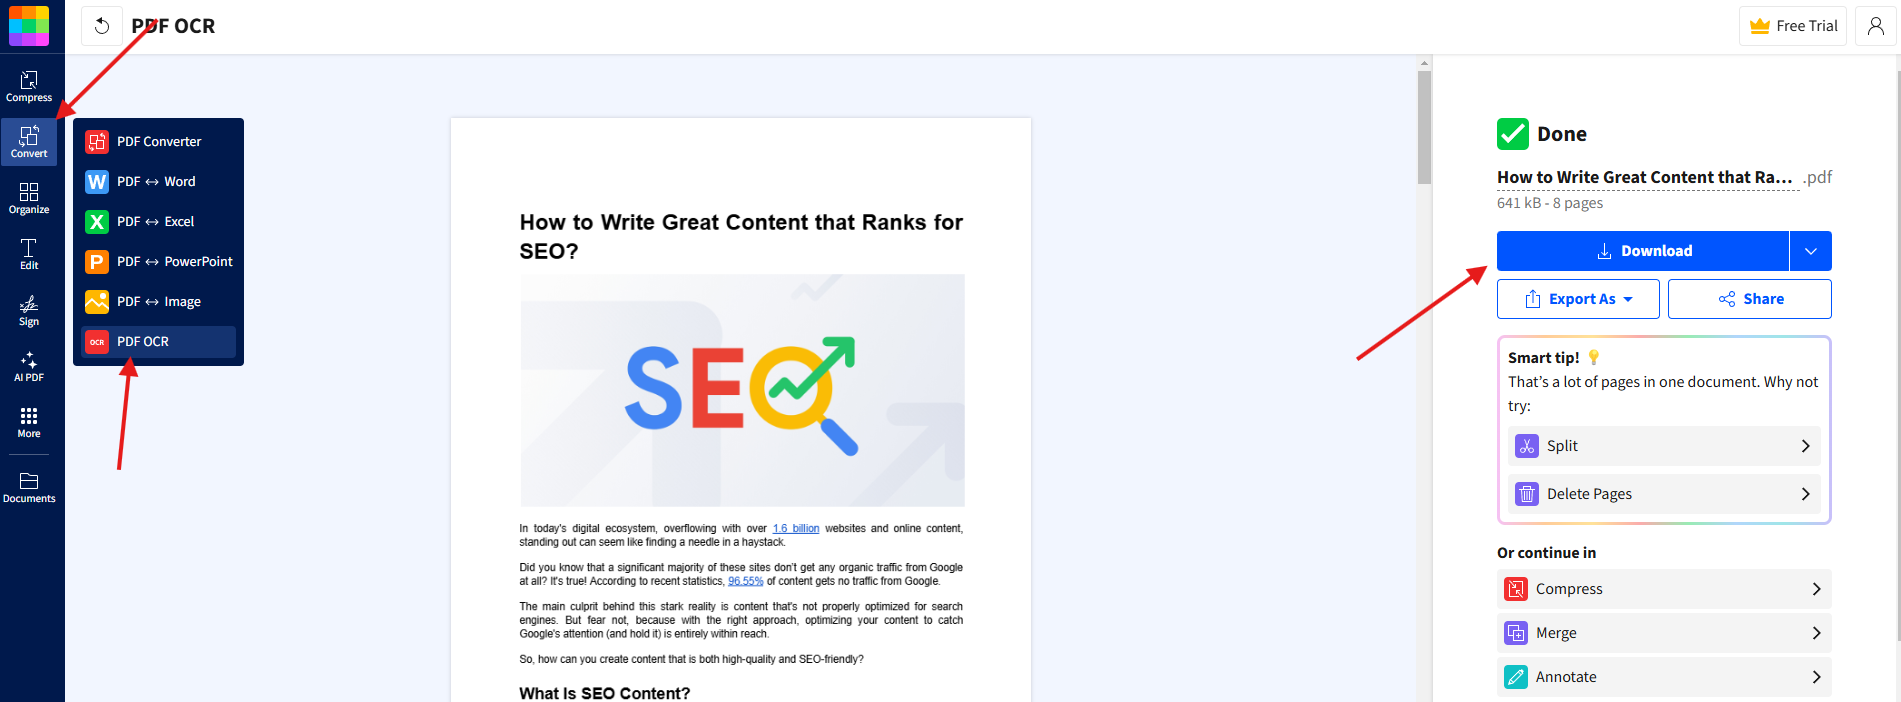
Use Smallpdf PDF OCR to turn image text into selectable text. OCR is a Pro feature, and it’s worth using when accessibility is the goal, because everything else depends on real text. Upload your file in the PDF OCR area below to run OCR and generate selectable text.
Step 4: Check Headings, Lists, and Basic Structure
Once text is real and selectable, structure becomes the next priority. Structure is what makes screen reader navigation usable, especially in long documents.
You can use Edit PDF to make these changes. What to fix first:
Headings follow a logical order (H1, then H2, then H3).
Lists behave like lists, not paragraphs with manual spacing.
Tables are built as tables, not “aligned text.”

This is also the step where converting the PDF to Word helps. Word makes structure obvious. You can quickly spot fake headings and rebuild them as real headings.
Step 5: Fix Reading Order and Keyboard Navigation
Reading order is the sequence a screen reader uses to move through content. It should match how a person reads the page.
Common reading order problems:
Sidebars get read in the middle of paragraphs.
Multi-column layouts jump left-right in a confusing way.
Captions get read before the thing they describe.
A practical way to improve this without specialized remediation software is to simplify the layout during the Word-edit stage. Single-column layouts with clear headings usually outperform complex designs for accessibility.
For keyboard navigation, aim for a logical tab order in forms and interactive PDFs. If the tab order jumps around the page, keyboard users lose context quickly.
Step 6: Add Alt Text to Images, Charts, and Icons
Alt text is one of the most visible accessibility wins, and it’s often missing.
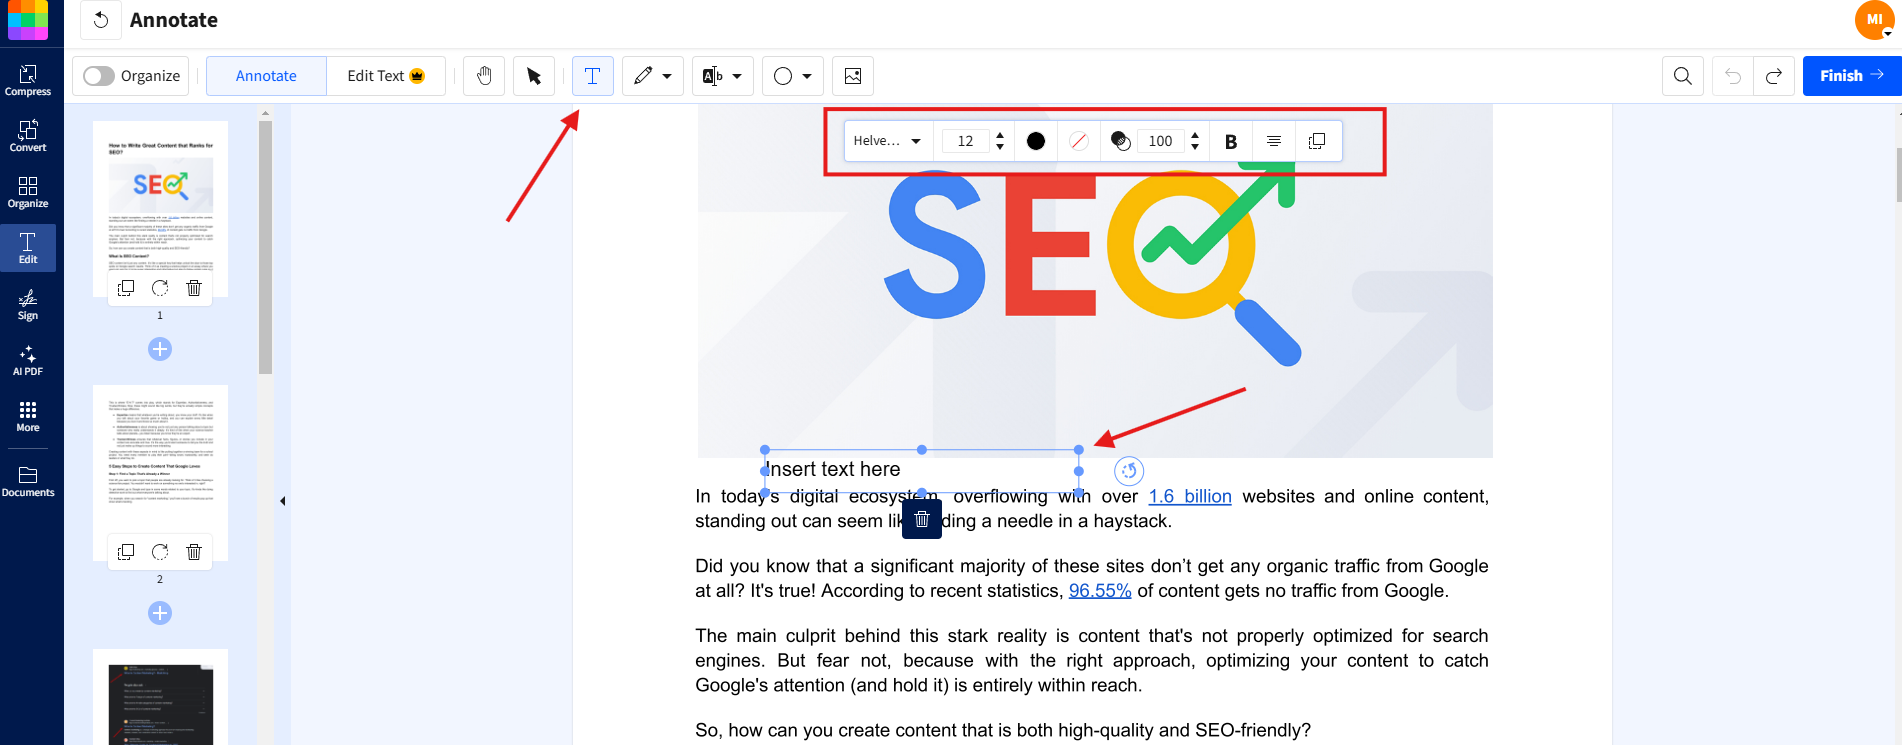
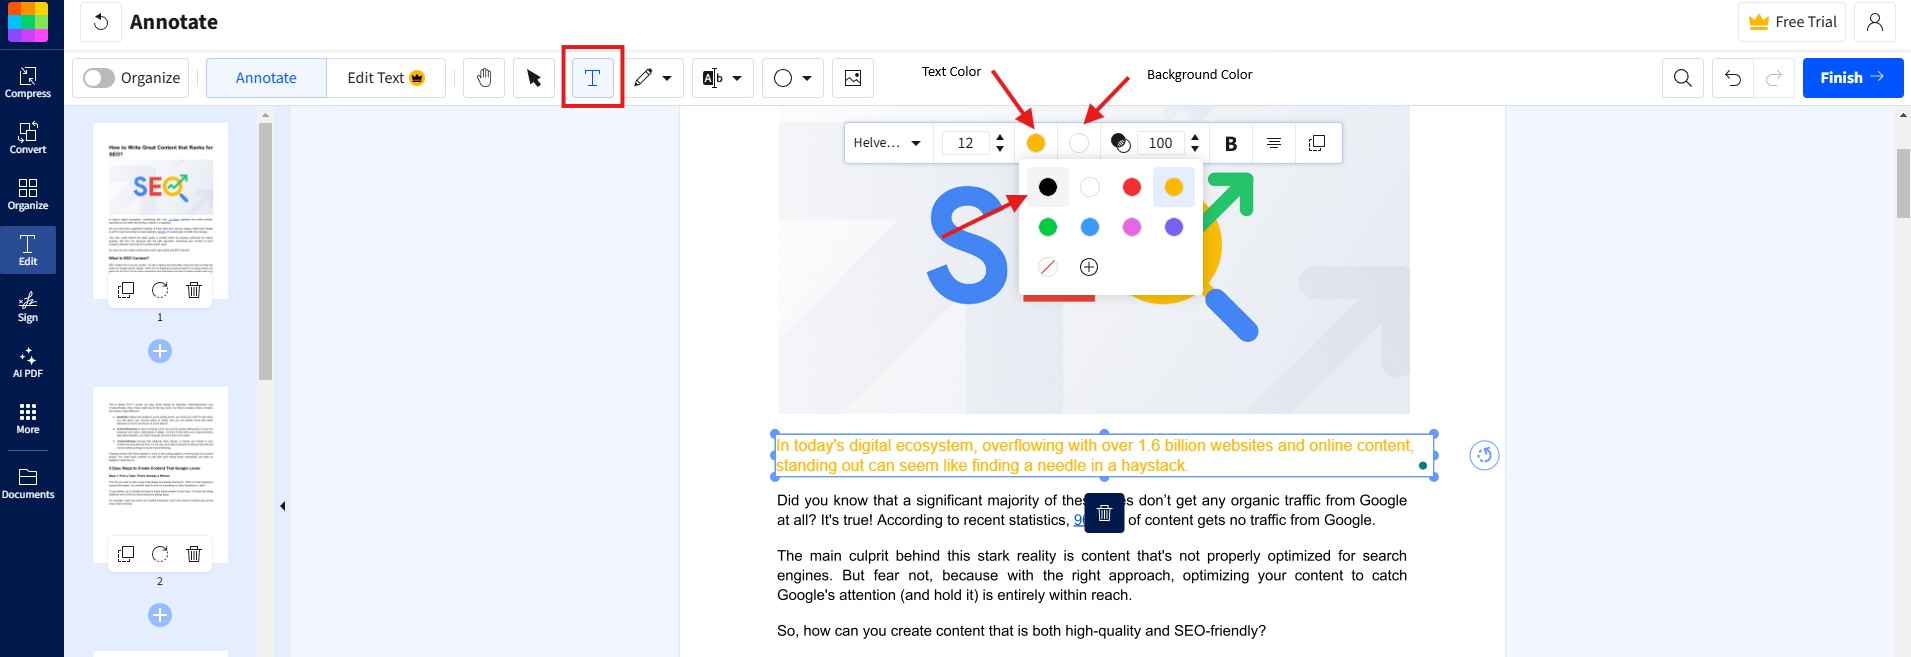
Use PDF Annotator to add alt text to:
Photos that provide context.
Icons that communicate meaning (warning, success, required).
Charts and diagrams that carry key information.
Skip alt text for:
Decorative borders, spacers, and flourishes. Mark these as decorative so screen readers skip them.
Alt text should explain the meaning, not the aesthetics. A good rule is: Write what someone needs to know to understand the content.
Examples you can copy and adapt:
Good: ‘Line chart showing support tickets dropped 18% from April to June.’
Weak: ‘Line chart in blue.’
Good: Warning icon next to ‘Late fees apply after 30 days.’
Weak: ‘Triangle icon.’
Good: ‘Workflow diagram: submit request, manager approves, finance pays.’
Weak: ‘Diagram showing steps.’
If you’re editing in Word, right-click the image and use the alt text pane to add or update the description. Then export back to PDF so the descriptions carry through.
Step 7: Make Links, Tables, and Forms Understandable
This step is about the parts that trip users up during real use.
Links
Replace “click here” with link text that describes the destination.
Make sure the link text still makes sense when read out loud.
Tables
Use header rows and clear labels.
Avoid merging cells in ways that break structure.
Forms
Labels and tooltips should clearly explain what each field is.
Required fields should be clear without relying on color alone.
If your PDF is a simple document with no tables or forms, keep this step short. If it’s a report, invoice, or application form, this step matters a lot.
Step 8: Check Color Contrast and Font Readability
Low contrast is an accessibility problem that affects more than screen reader users. It impacts people with low vision, color vision deficiency, and anyone reading on a glare-heavy screen.
WCAG guidance for text contrast uses 4.5:1 for normal text as the baseline, and 3:1 for larger text.
Use Edit PDF to incorporate practical fixes that work fast:
Darken text color instead of changing font weight only.
Avoid light gray body text on white backgrounds.
Don’t rely on color alone to signal “required” or “error.”
Step 9: Test With an Accessibility Checker and Patch the Failures
At this point, you’ve improved the PDF. Now you need to verify it.
A widely used free checker is PAC (PDF Accessibility Checker), which checks many PDF/UA and WCAG requirements and helps you spot structural issues.
Here’s how to use checker results without getting overwhelmed:
Fix all “fails” first. These are usually missing structure, missing alt text, or invalid tagging.
Review “needs manual check” items next. These often require human judgment, like reading order and meaningful link text.
Retest after changes so you’re not guessing.
No checker can guarantee real usability by itself. The most reliable final test is to open the PDF and navigate it like a user would, with keyboard-only navigation and a screen reader if possible.
Common ADA PDF Problems and Fast Fixes
Here are the problems we see most often, plus the quickest fix path.
‘My PDF Is a Scan and Nothing Is Selectable.’
Run OCR first. Everything else depends on real text.
‘I Exported to PDF and the Structure Feels Broken.’
Go back to the source file. Apply real headings and lists, then export again instead of trying to patch a messy PDF.
‘Alt Text Is in Word but Seems Missing in the PDF.’
Re-export using Word’s PDF export options, not print. Many accessibility features don’t survive print workflows.
‘The Document Looks Fine but Reads in the Wrong Order.’
Simplify layout. Multi-column layouts and floating elements are common causes of broken reading order. If the PDF must stay complex visually, it often needs specialized remediation work.
Make ADA-Friendly PDFs Part of Your Normal Workflow
When you build accessibility into the process, it stops feeling like a special project.
Start with a clean source file, export with tags, run OCR when needed, and add alt text and structure before the PDF goes out the door.
If you’re working under a deadline, focus on the big blockers first: selectable text, headings, reading order, and meaningful alt text.
If you’re ready to start now, we can help you move through the core steps quickly.
Frequently Asked Questions
How do I know if my PDF is ADA-compliant?
Start with quick tests: Text selection, headings that behave like real headings, meaningful link text, and alt text for images. Then validate with a checker like PAC for PDF/UA-style issues.Can I convert an existing PDF to ADA compliant?
Yes. The fastest practical workflow is OCR for scans, convert to Word for structure and alt text fixes, then export back to PDF with tags.What standards should I follow for accessible PDFs?
Most organizations aim for WCAG 2.1 Level AA as the technical target for accessibility, and PDF/UA (ISO 14289) for PDF-specific requirements around Tagged PDF structure.Do decorative images need alt text?
No. Decorative elements should be marked as decorative so screen readers skip them. Only meaningful visuals need descriptions.How long does it take to make a PDF accessible?
Simple text-first PDFs can be improved quickly. Scanned documents, complex tables, and multi-column layouts take longer because OCR, structure, and reading order need more attention.Prepare accessible PDFs using Smallpdf Pro
Related Articles
